Appearance
Installation guide
The installation is via an MSI.
After installation browse http://localhost:9797 on the Windows Server the software is installed on.
1. Prerequisites
Administrator permissions on a Windows Server.
2. Installation Steps
- Run the MSI Installer
Locate and run the Cenova MSI installer on your Windows Server.


- Input the service account details
The installer will then prompt you to specify an account to run the edge service - this account should have access to the file shares that you want to crawl.
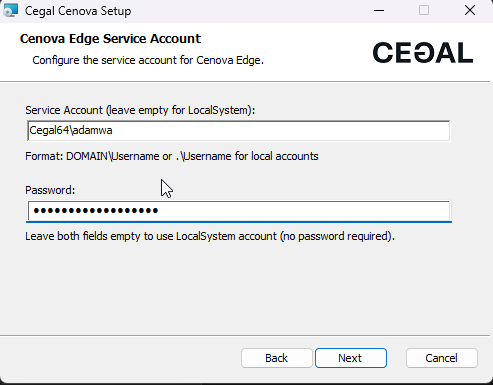
TIP
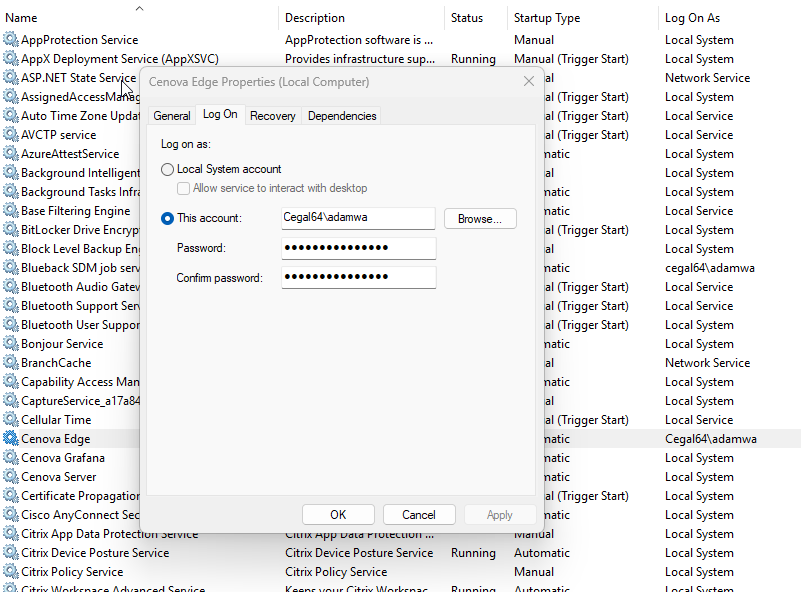
If you need to run as a different user to access network drives you should change the logon user appropriately.
- Elevated permissions
When prompted, grant elevated (administrator) permissions.
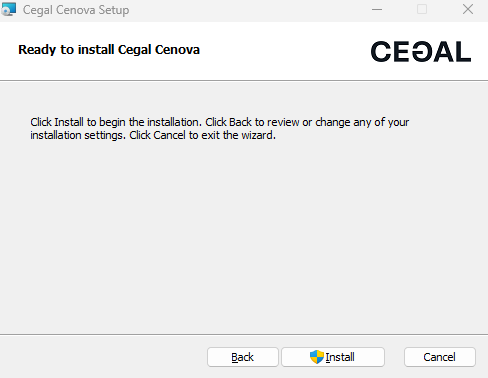
Cenova will now be installed
3. Installed Windows services
After successful installation 3 Windows services should installed and running.
- Cenova Edge
- Cenova Server
- Cenova Grafana

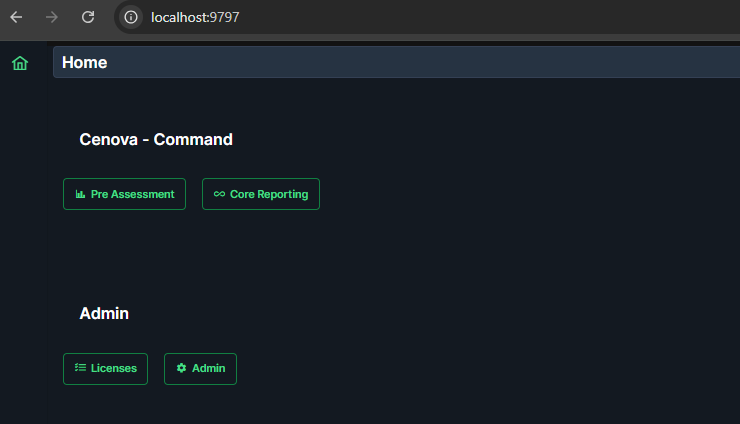
After installation the Cenova web app is available on http://localhost:9797
Cenova also installs a desktop item for direct navigation to the application.

4. Activating a license
When visiting the web application you will be greeted with a screen telling the software needs to be activated with a key. To obtain a Cenova license key please contact support.geo@cegal.com
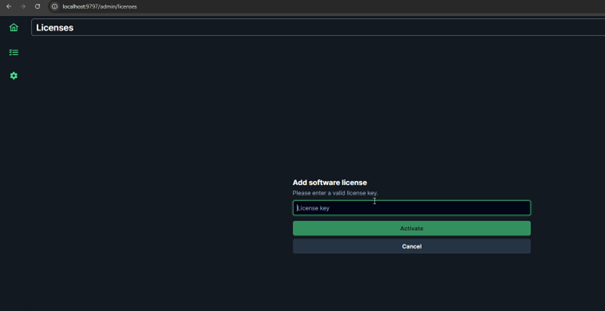
Enter your license key to activate the software. After activation should see something similar to the below.

5. Installation and logs
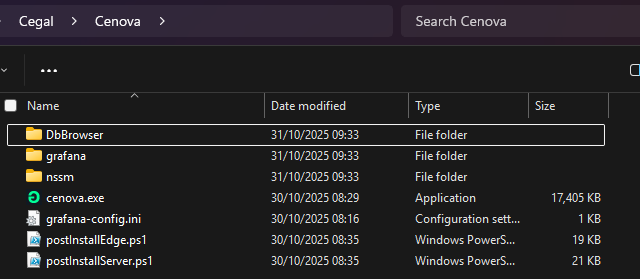
The main installation folder is located by default in C:\Program Files\Cegal\Cenova
Dynamic data including licensing and logs are located in C:\ProgramData\Cegal\Cenova
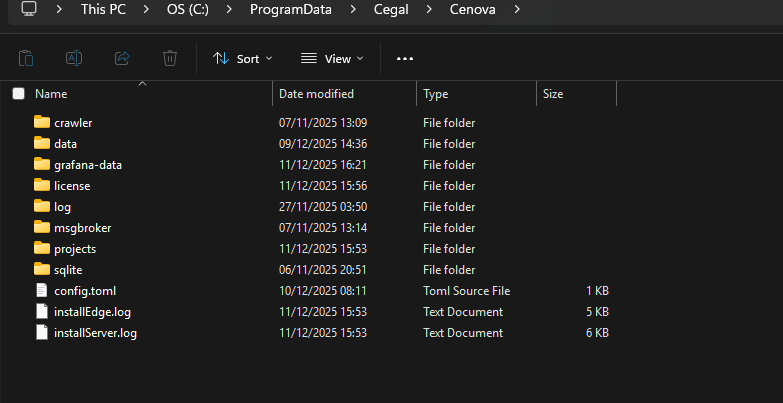
TIP
The ProgramData directory may be a hidden folder so you may have to show hidden folders or browse the path directly.
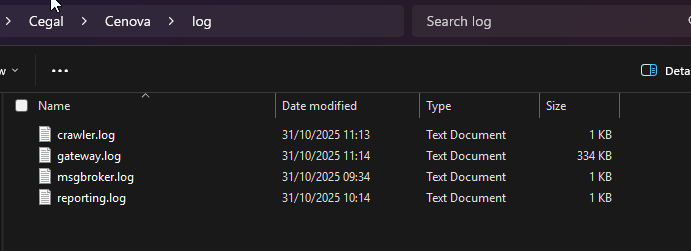
Log files are located in C:\ProgramData\Cegal\Cenova\log
6. Changing Crawler index and Project database location
From version 0.4.2 it is possible to change the location of the crawler indexes and the project databases. This can be carried out post installation.
The system administrator can now customize the location of edge and server index files which can be large in size.
This feature has been introduced to allow for override of the default locations in the C drive Program Date directory if there are size restrictions on this folder.
WARNING
These locations should still be physical disks attached to the machine. Network locations are not recommended for performance and reliability reasons.
The location can be edited in the C:\ProgramData\Cegal\Cenova\config.toml file
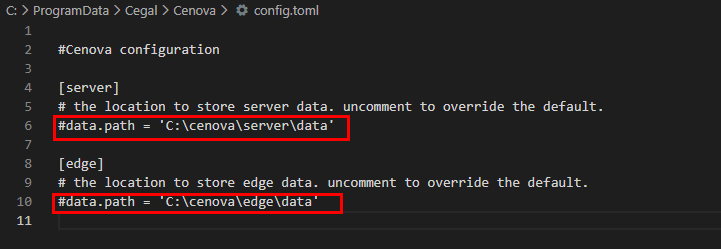
The user will need to uncomment (remove #) from lines 6 & 10, then update the path to where they wish to store the data.
NOTE
The Windows services for the Cenova Server and Cenova Edge services should be restarted for changes to config.toml file to take effect.
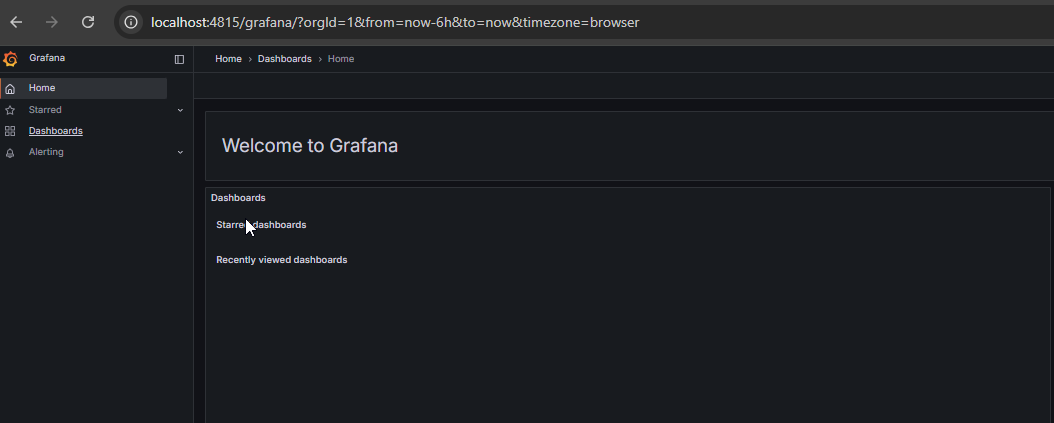
7. Grafana
If you wish the access Grafana directly rather than via Cenova it is available on http://localhost:4815
8. Installed components
Cenova edge service

The edge service is responsible for the collection of the index and in the future may support running on a separate node to the main server components.Cenova server service

The server service is the main service that runs the Cenova web server and other central components.Cenova Grafana service

The Grafana service runs the Grafana server instance.Grafana
Grafana is a dedicated dashboarding tool from Grafana Labs.SQLite
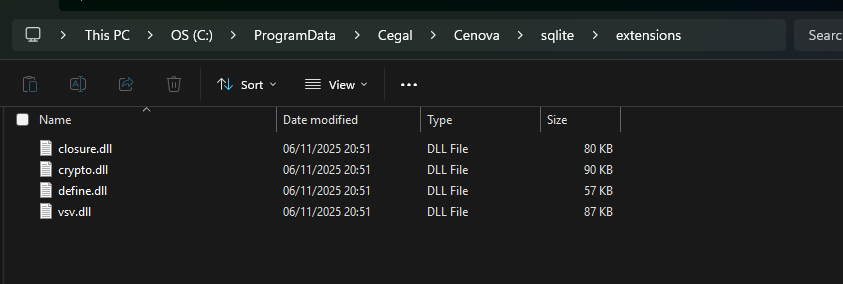
The SQLite extensions are required to extend some of SQLite's core functionality.Cenova website
The homepage for the Cenova web server.
- Cenova icon
A installed shortcut placed on the desktop for convenience.
9. Upgrading from previous versions
If a new version is available, it can be installed directly by following the instructions in the Installation Steps section of this guide. The installer will automatically detect and remove old versions of Cenova.
WARNING
Versions earlier than 0.4.2 had an installer version error which meant the installation had to be removed via Control Panel rather than running a new installer over the top. See below.
10. Uninstallation
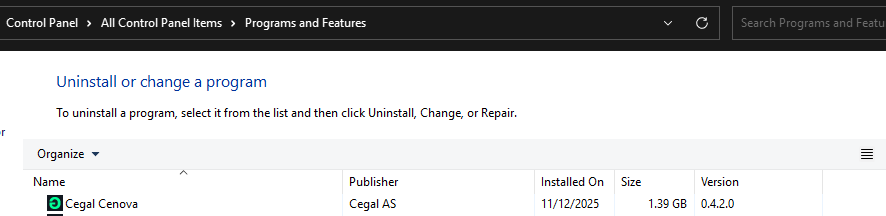
10.1 Uninstalling Cenova via Windows Control Panel
- Open Windows Control Panel > Programs > Programs and Features
- Find the entry for Cegal Cenova in the list
- Click Uninstall. Cenova will be removed along with all installed components.
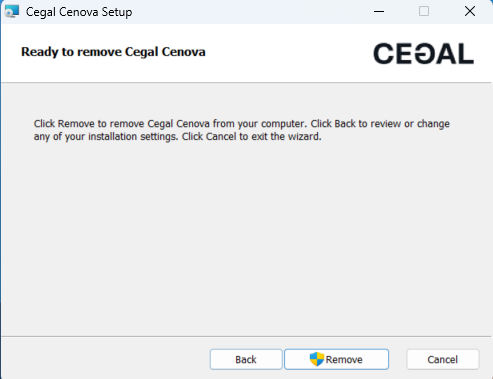
10.2 Uninstalling Cenova via original MSI
- Double click the .MSI file to start the setup wizard
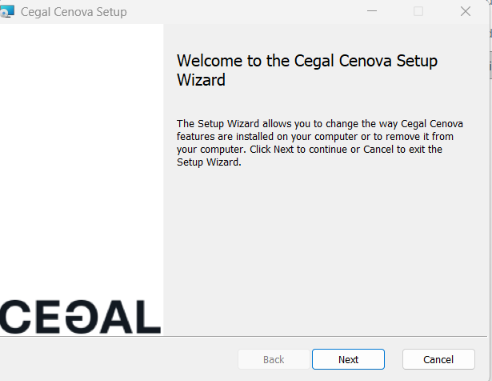
- Click Next
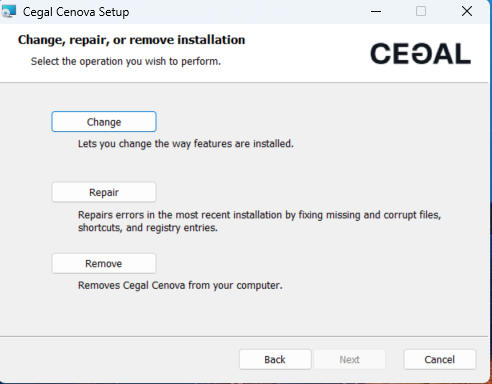
- Select Remove and follow the prompts to complete the uninstallation